Quite a few people have commented that assembling the large arachnid is quite challenging due to the lack of instructions. So thought I would pop up some pictures and notes on how I'm doing mine. So far I've only done the "B" sprue version.
Always worth dry fitting parts before glueing so you are sure everything is good before you commit. I like to use liquid poly (or simmilar) products rather than polystyrene cement as its makes for a much neater job on kits where all the parts fit perfectly.
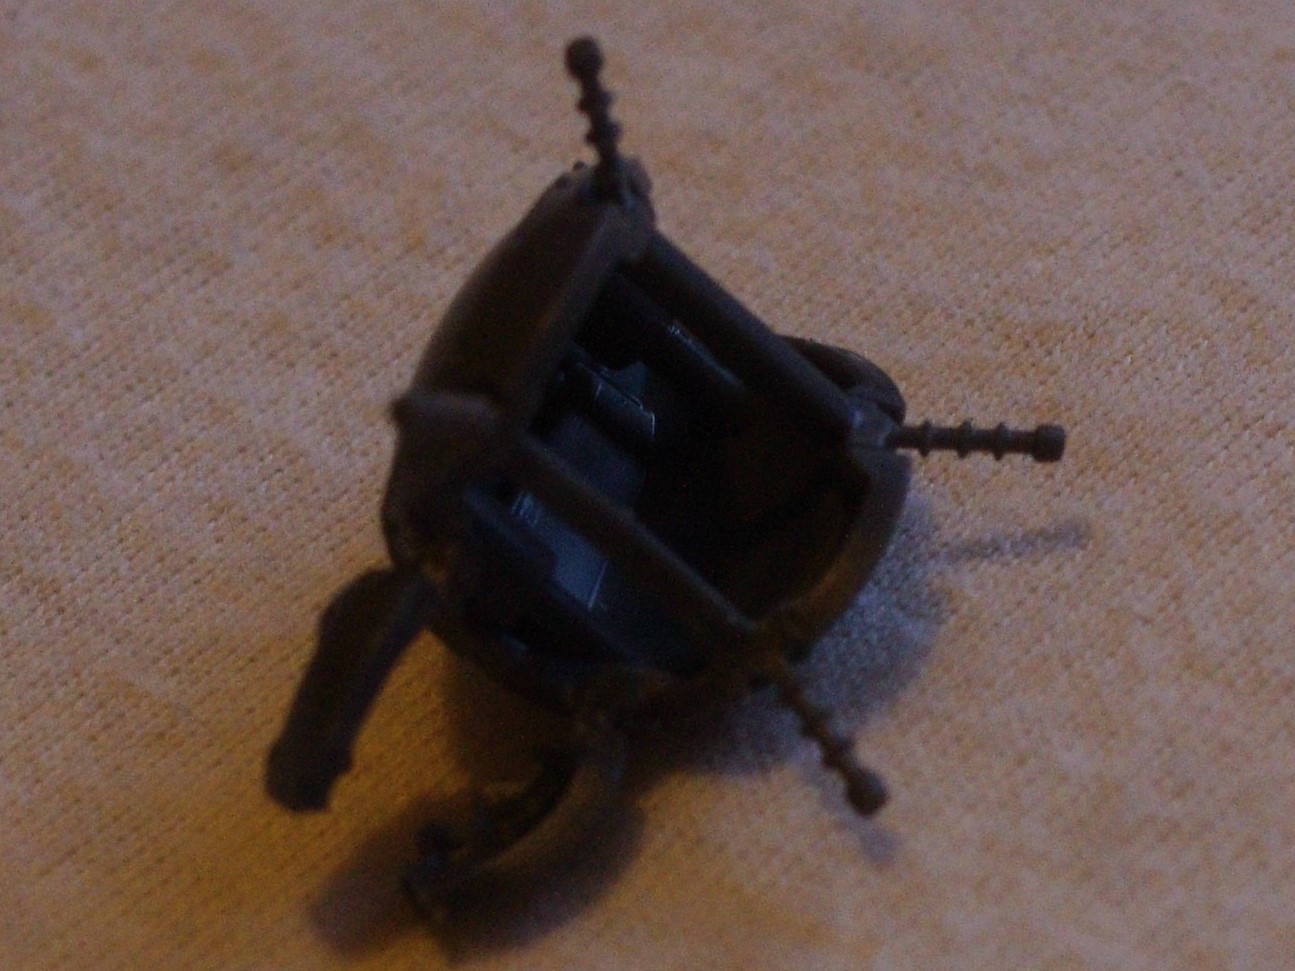
Start by glueing the left and right halves of the body together, then attach the electrical gubbins. The one with the straight connecting bar goes at the rear, the one with the bend at the front. With the electrical gubbins in that order and pointing up there are still two ways you can fit them. Try both ways round and the correct one is the neater looking one where all the edges line up nicely.
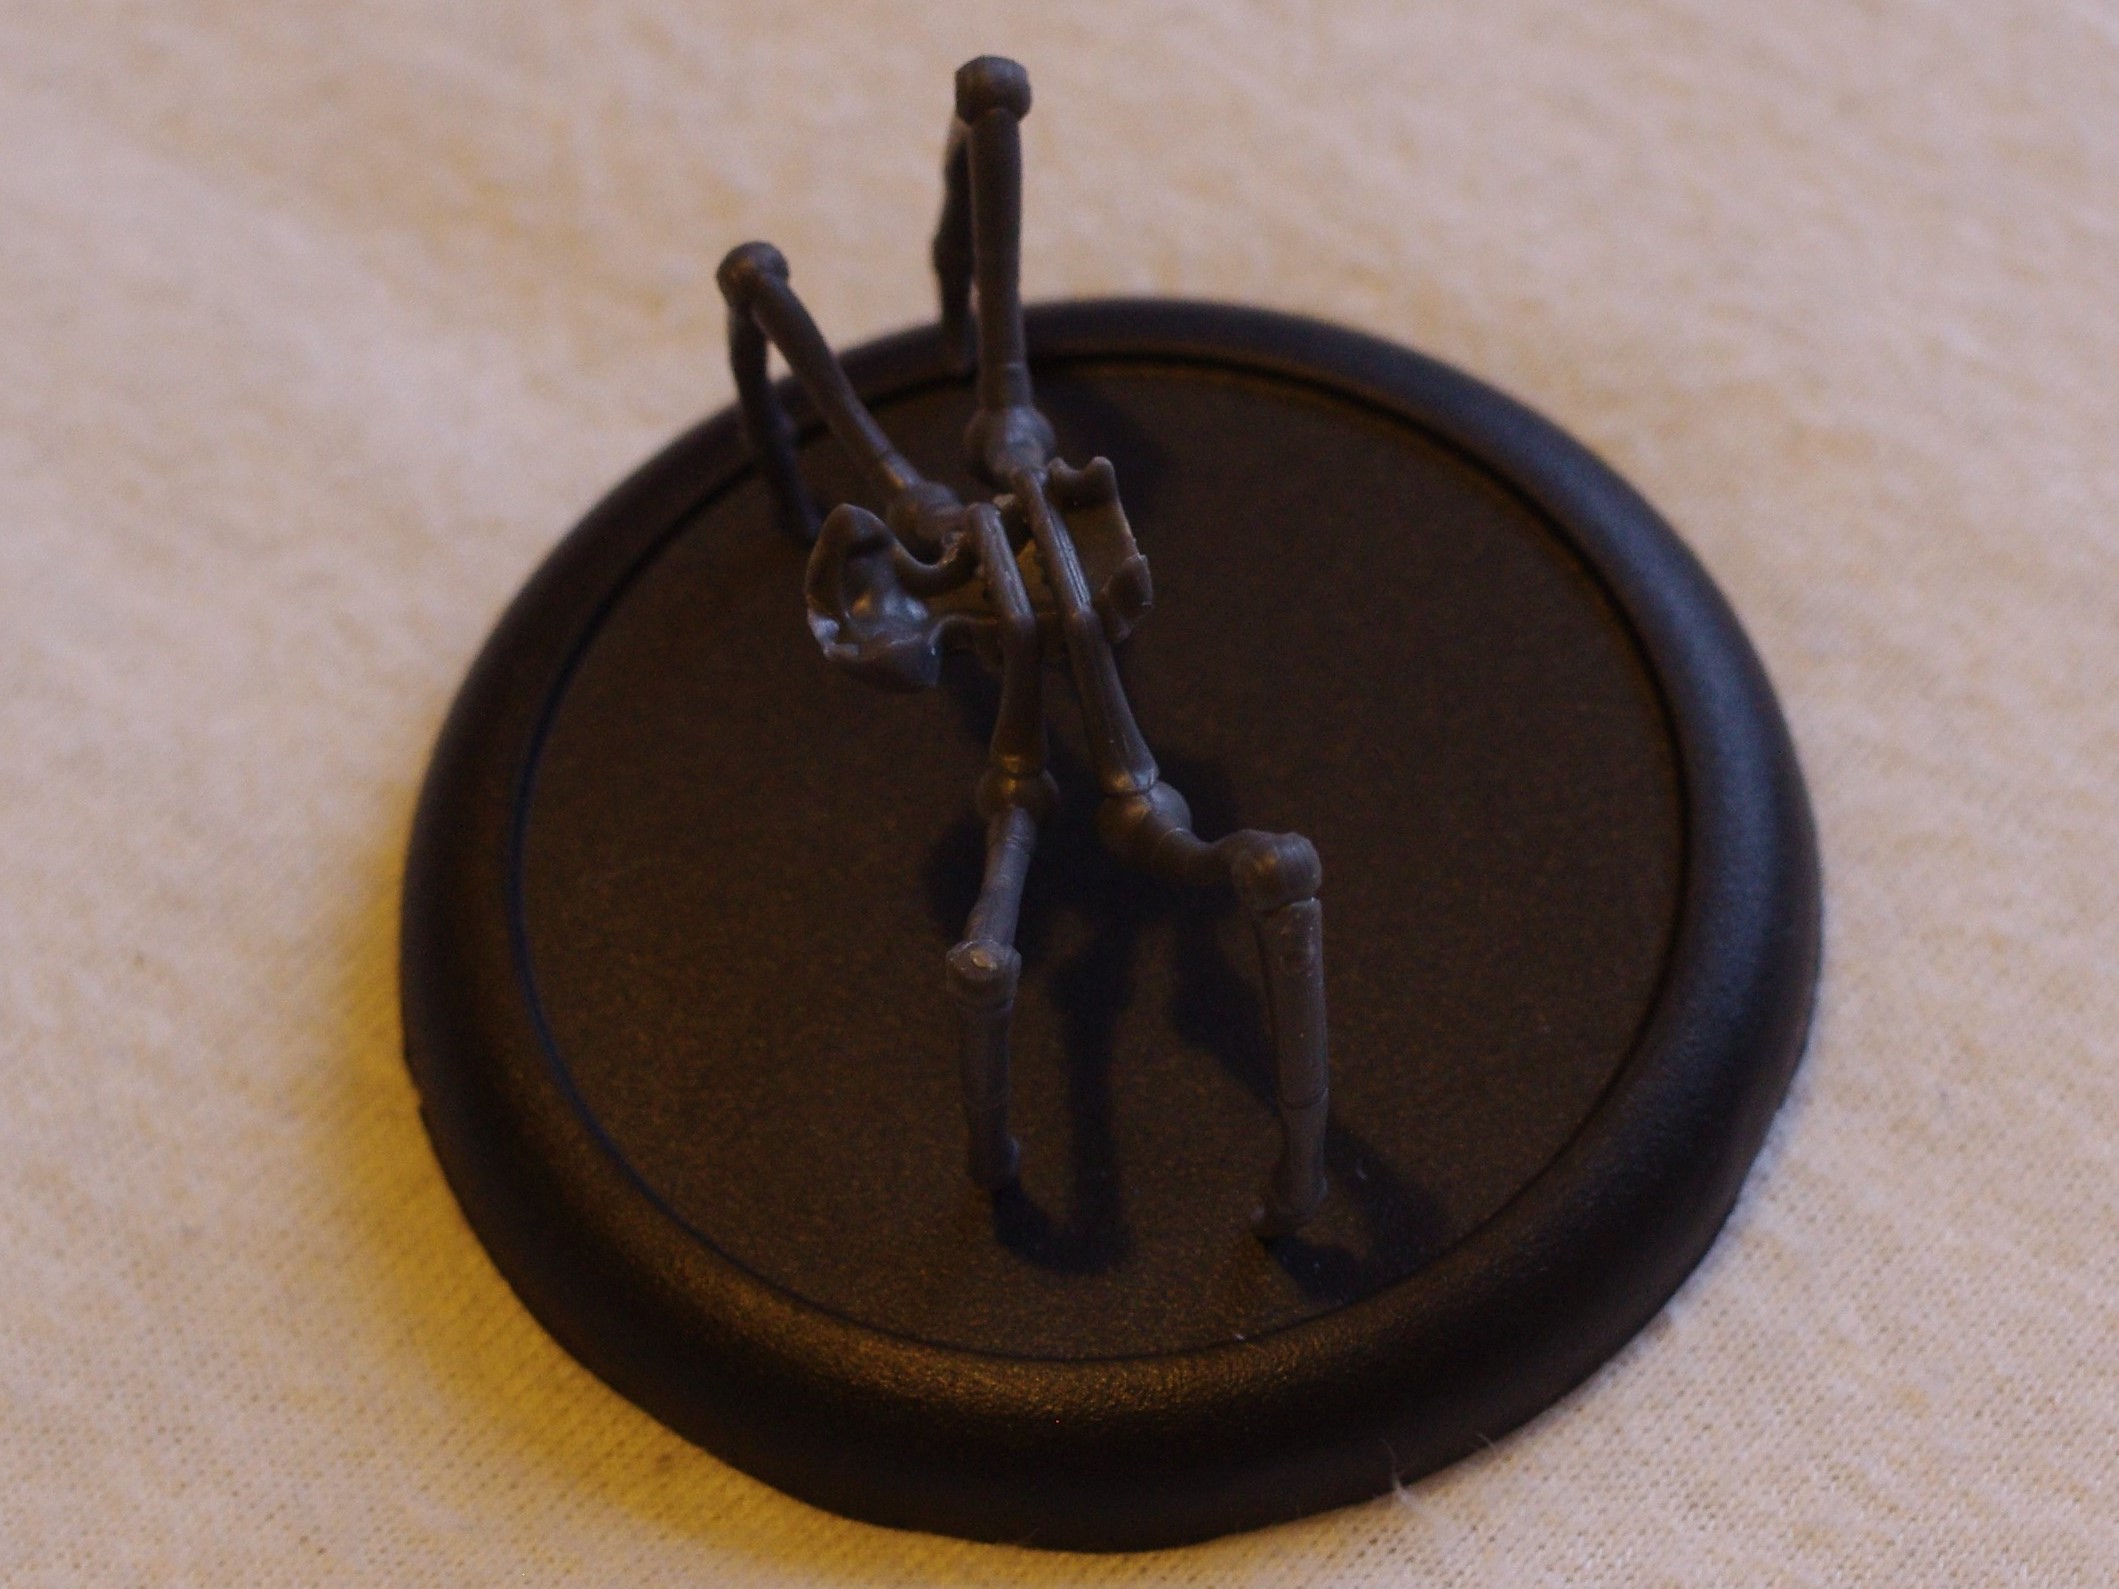
For the this step you need to identify the two legs that have straight connections in the middle and a single tiny pip. On a flat surface glue them into the middle two positions. The joining bit should guide the position of the legs into the right orientation. The smaller of the two pairs goes at the front. Both pips point forward. Mine looked like this:
Once step two is dry you can proceed to do step three and four together. I didn't give the glue a chance to dry on step three before doing step four so that I could tweak the positions if needed. I got the distinct impression the lower body bit wasn't going to be so useful on its own for guiding the legs into the exact position.
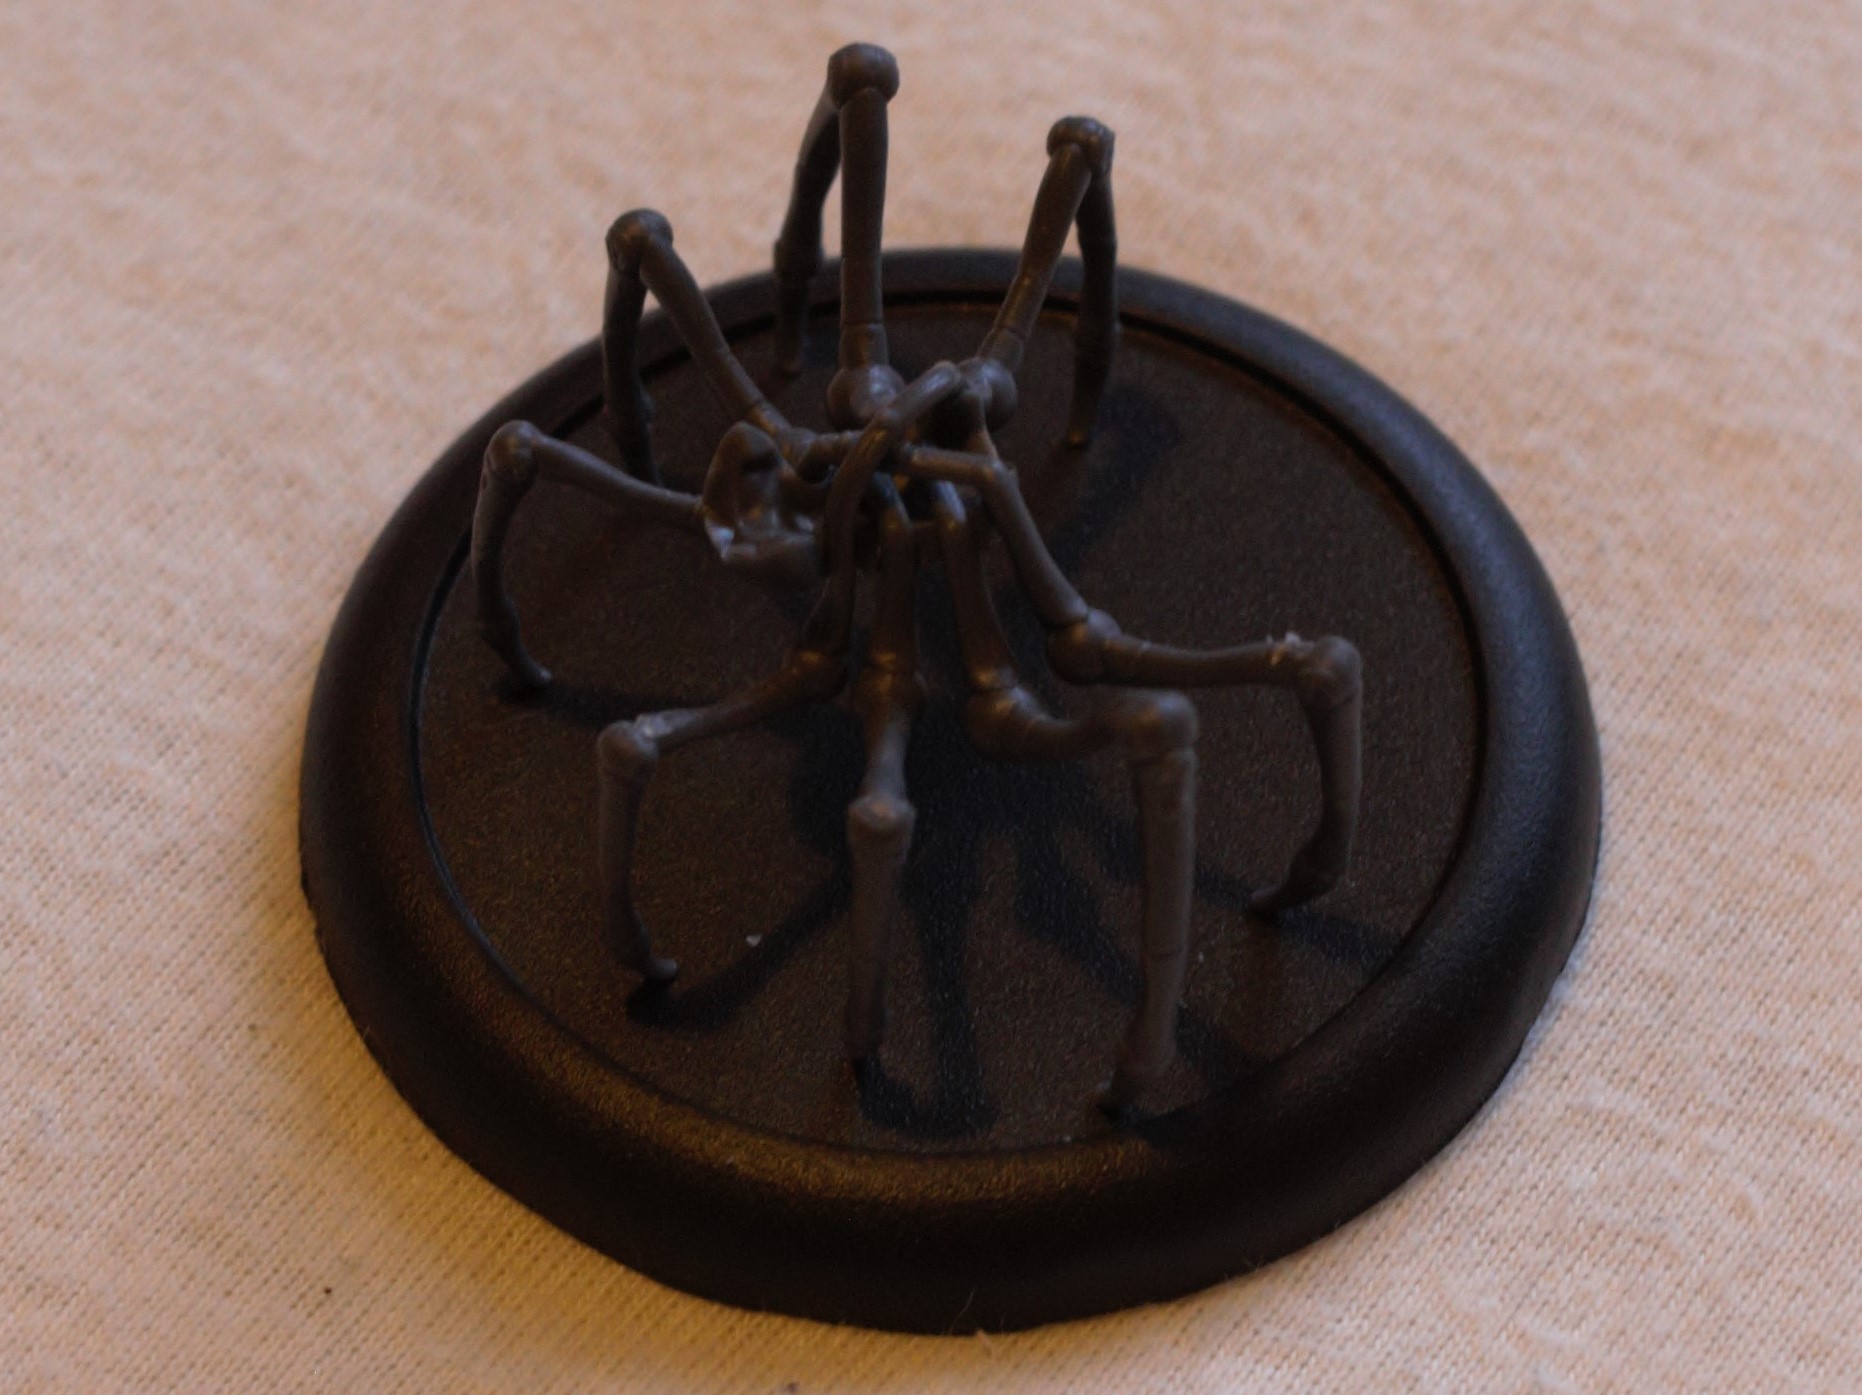
The next two legs go on diagonally, attach the one with the straight middle and two pips first, the pips face up this time. Then fit the pair of the legs with the curved middle, it should pass through the two pips on the previous legs. Should look like this:
Attach the body from step one ontop of the assembled legs and make sure everything is positioned nicely like this:
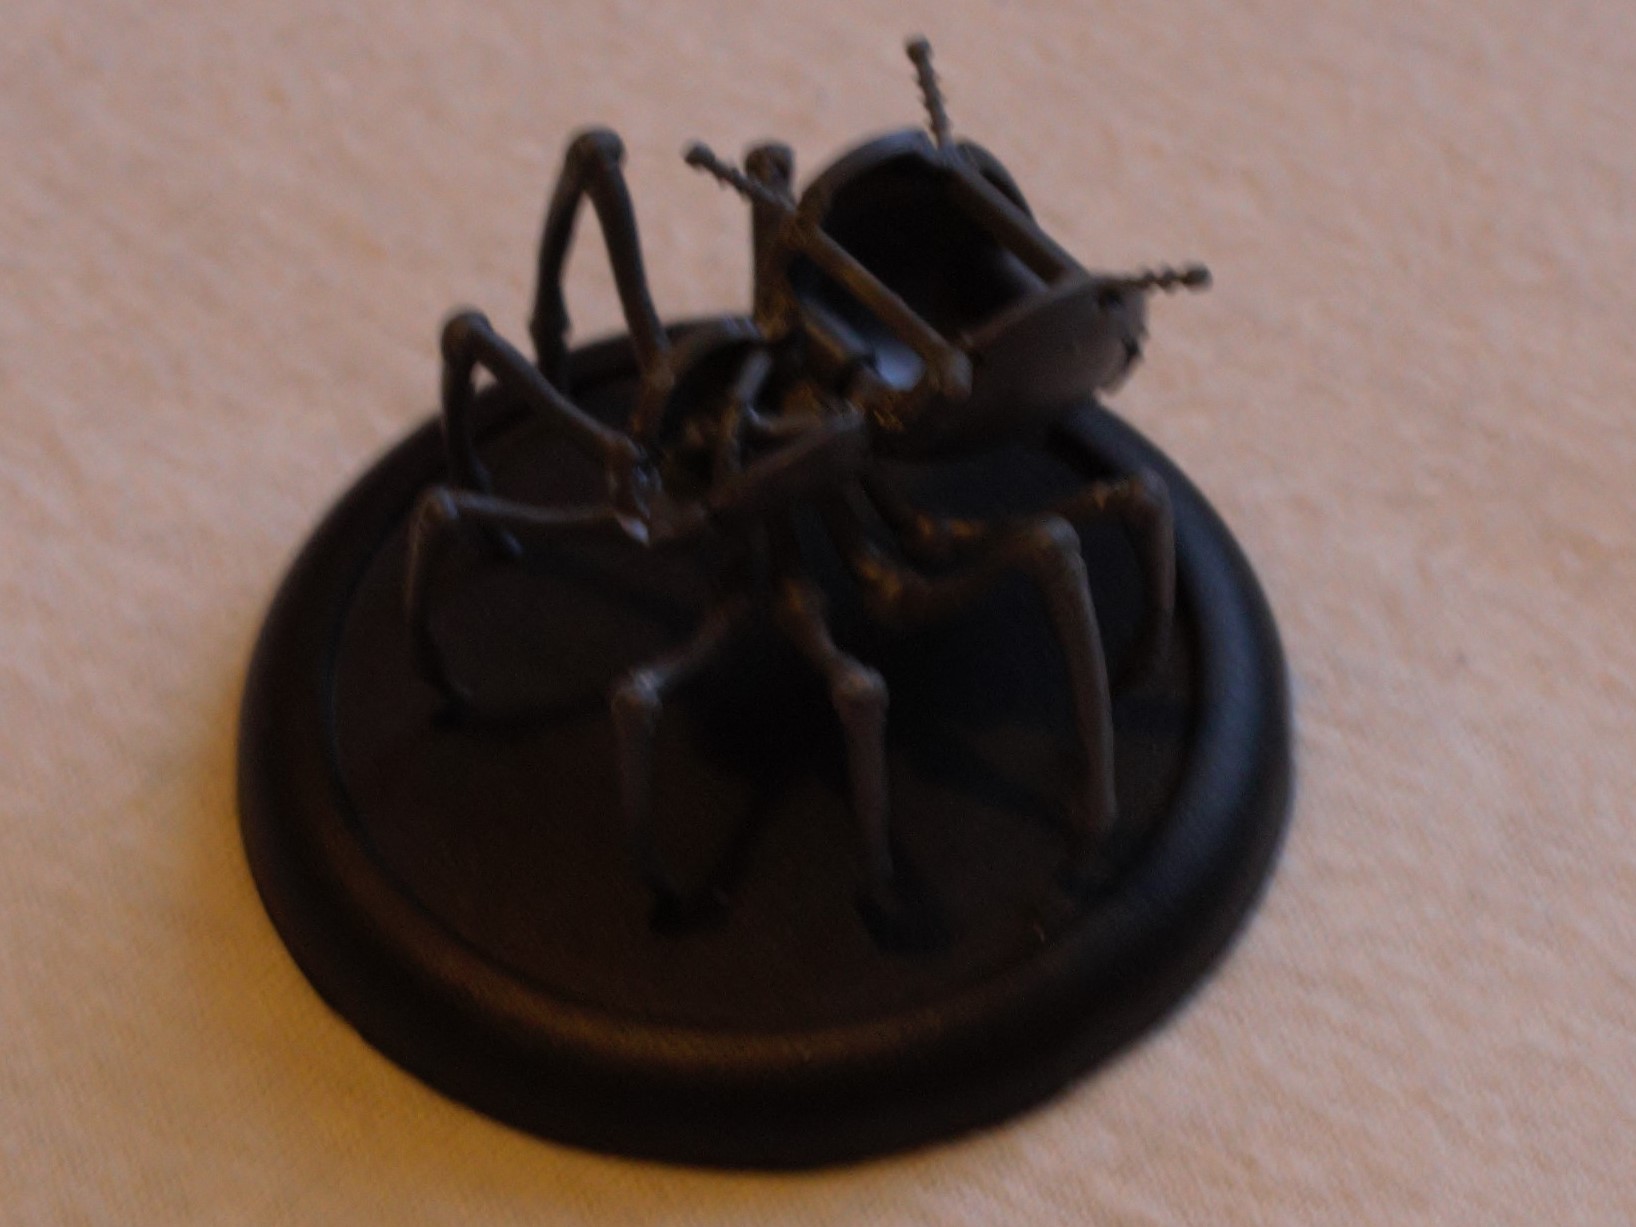
Start at the back and work forward. I found I needed to do a little bit of scraping with a scalpel for the front half of the rear body's top to get a perfect fit. Otherwise nice and easy
